Cleaning an old console is one of the most satisfying rainy-afternoon projects in the hobby. A dusty machine can go from attic refugee to proud shelf resident with a soft brush, patience, and far less scrubbing than social media restoration videos might suggest.
I grew up in the era when the official troubleshooting method was blowing into an NES cartridge and trying again. We know better now. Breath adds moisture, and old contacts deserve gentler treatment. I still feel the urge, though. Decades of bad muscle memory are powerful.
Set up a calm afternoon project
Unplug power, video, controllers, and accessories. If the device has been powered recently, allow it to cool. Photograph labels, cable routing, screw locations, and each layer before moving parts. Never open a CRT television or power-supply section unless you are trained for its hazardous stored voltages.
Begin with the easy wins
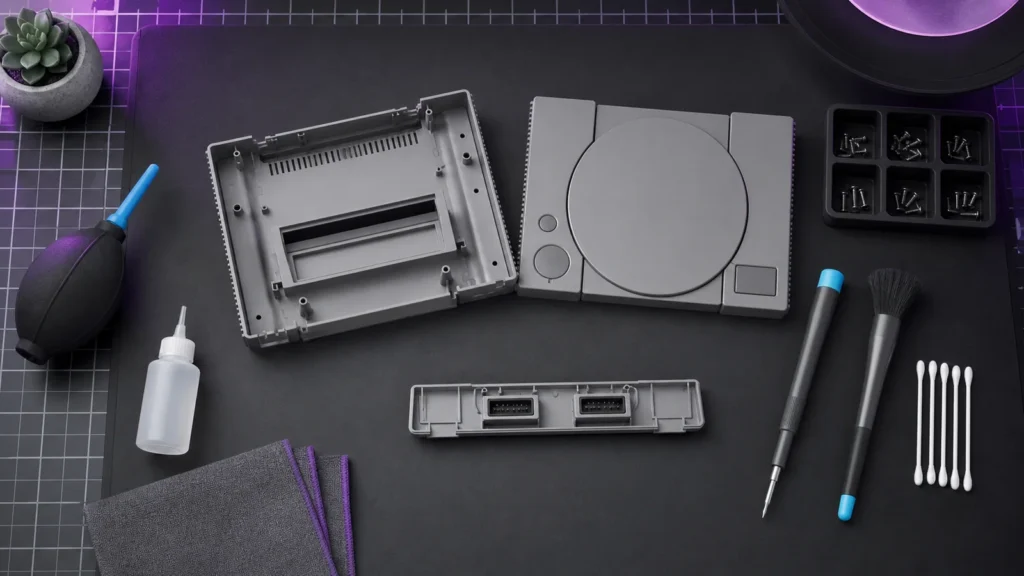
Use a dry microfiber cloth on the shell. A soft brush and hand air blower can lift dust from vents and seams. Avoid forcing debris deeper with excessive air pressure. Do not spray liquid directly onto a console, controller, cartridge, or optical drive.
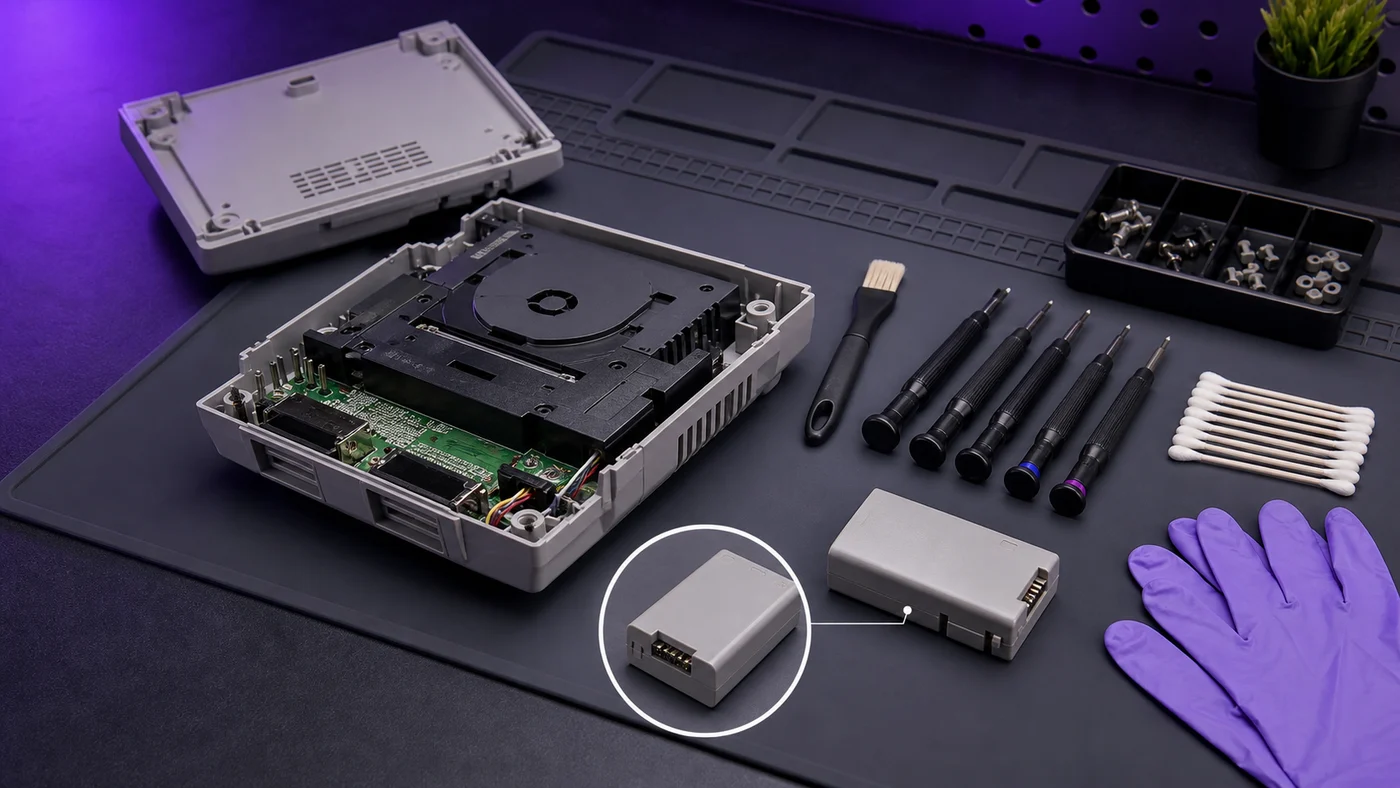
Use a driver bit that fills the screw head without wobbling. If the bit slips under light pressure, stop and change sizes before the screw strips. A precision electronics screwdriver kit is worth buying when it includes the security bits required by your console and a tray for separating screw groups.
Reserve high-concentration isopropyl alcohol for appropriate electronic contacts and bare board areas. Keep it away from printed labels, painted markings, adhesives, and clear plastic unless the service documentation explicitly approves it. Put a small amount on the swab, never on the console, and reconnect power only after the area is completely dry.
The point where cleaning becomes repair
Corrosion, leaking capacitors, swollen batteries, damaged mains wiring, lifted circuit-board traces, and optical-drive adjustment require more than routine cleaning. Batteries deserve special caution: stop using a swollen, hot, punctured, or leaking pack and follow local disposal guidance.
A small tool kit is enough for most gentle cleaning. Use drivers that fit the exact screws, a soft electronics-safe brush, a hand blower, microfiber cloths, and lint-free swabs. A parts tray and bright task light make the afternoon easier, while eye protection is sensible whenever loose debris or a damaged component could be disturbed.
An electronics cleaning kit is useful when it contains a soft brush, blower, cloth, and plain swabs. Skip kits with unlabeled spray bottles or “universal” cleaning fluid. Dry tools cover most starter jobs without putting an unknown chemical on aging plastic.
Before replacing the shell, sweep the work area with your eyes and count the screw groups against the teardown photos. Seat connectors straight, route cables through their original channels, and make sure nothing is pinched. Power the console with only the required accessories, then test video, audio, controllers, and media one at a time.
Begin the inspection at the power cable and plug, looking for cuts, heat damage, or exposed conductors. Shine a light into vents and ports before inserting anything, then look around battery compartments for corrosion. A burned smell is a reason to leave the power disconnected. If you find damage involving mains voltage or a battery, photograph it and hand the next step to someone with the right training.
A quiet cleaning afternoon is one of my favorite sides of the hobby. Put on some music, arrange the screws so they can’t escape, and let the job take as long as it takes. The goal isn’t a dramatic before-and-after video. It’s a console that works and still has all its clips.
Dust removal is maintenance. Replacing capacitors, adjusting an optical assembly, repairing a power supply, or removing corrosion from fine circuit traces is repair work. A console that doesn’t power on should not be repeatedly switched on while parts are moved. Repeated attempts can enlarge a fault.
Give old batteries real respect
Do not puncture, flatten, bend, or squeeze a swollen pack. Keep its terminals from contacting metal. The CPSC high-energy battery safety page collects consumer safety resources, while the EPA recycling guidance explains disposal routes. Follow the device maker and local waste authority.
Start with dry methods. Strong solvents can cloud transparent parts, erase printing, lift serial labels, and change the sheen of textured plastic. Never mix cleaning chemicals. If a manufacturer doesn’t specify a cleaner, use the least aggressive method and test away from visible surfaces.
Use bright lighting, a parts tray, and a clean ESD-conscious surface. An electronics repair mat can help organize screws and protect the table, but it doesn’t make high-voltage work safe. Put each screw group in a labeled section and compare photos during reassembly.
If the equipment belongs in a larger collection, the hardware and emulation comparison can help decide which systems are worth maintaining.
The retro setup guide also covers safe power and cable planning.
Set out more table space than seems necessary and keep a drink on a different table. Take a photo before the first screw comes out, then another whenever a cable or shield is moved. A strip of masking tape with simple labels can prevent the classic ending where two mysterious screws remain.
Work slowly around old plastic clips. If a shell refuses to separate, look for a hidden screw instead of pulling harder. Many systems hide fasteners under doors, feet, stickers, or expansion covers. Model-specific service information is worth finding before force enters the conversation.
Put it back together and play
A console doesn’t need to look factory-new. Yellowing, small scratches, and worn controller buttons are part of its history. Clean grime that affects use, clear blocked vents, and address real faults. Chasing cosmetic perfection can damage labels and textured plastic that survived perfectly well for decades.
Once it is reassembled, play a familiar game long enough for the system to warm up. Listen for a fan or drive that changes sound, check the picture and audio, and make sure every controller port you touched still works. Then enjoy the result. The victory lap is an important maintenance step, at least in this workshop.
Write down the model, date, symptoms, cleaning performed, and any replacement parts. Add the bit sizes that fit and the power supply used. The note takes two minutes and becomes surprisingly handy the next time the console comes off the shelf.
Clean carefully, stop when the job moves beyond your experience, and test the console with a game you know well. If the title screen appears and the controller responds, enjoy the victory lap. You earned that one.