RetroArch can look like the control panel of a spaceship the first time it opens. The good news is that most of those menus can wait. A controller, one core, a few games you are entitled to use, and a sensible save folder are enough for a very good first evening.
I’ve been tinkering with game settings since the DOS days, when getting sound and memory configured could feel like the first boss battle. RetroArch is easier than that, but the first look at its menus can bring back the same “what did I just install?” feeling.
One system is enough for tonight
Install RetroArch from the official platform download page. Add only a few games you are legally entitled to use while learning. NerdHobbies doesn’t provide ROMs, BIOS files, firmware, or download sources. The official Starting a Game guide explains the core-and-content model.
Make the files easy to find again
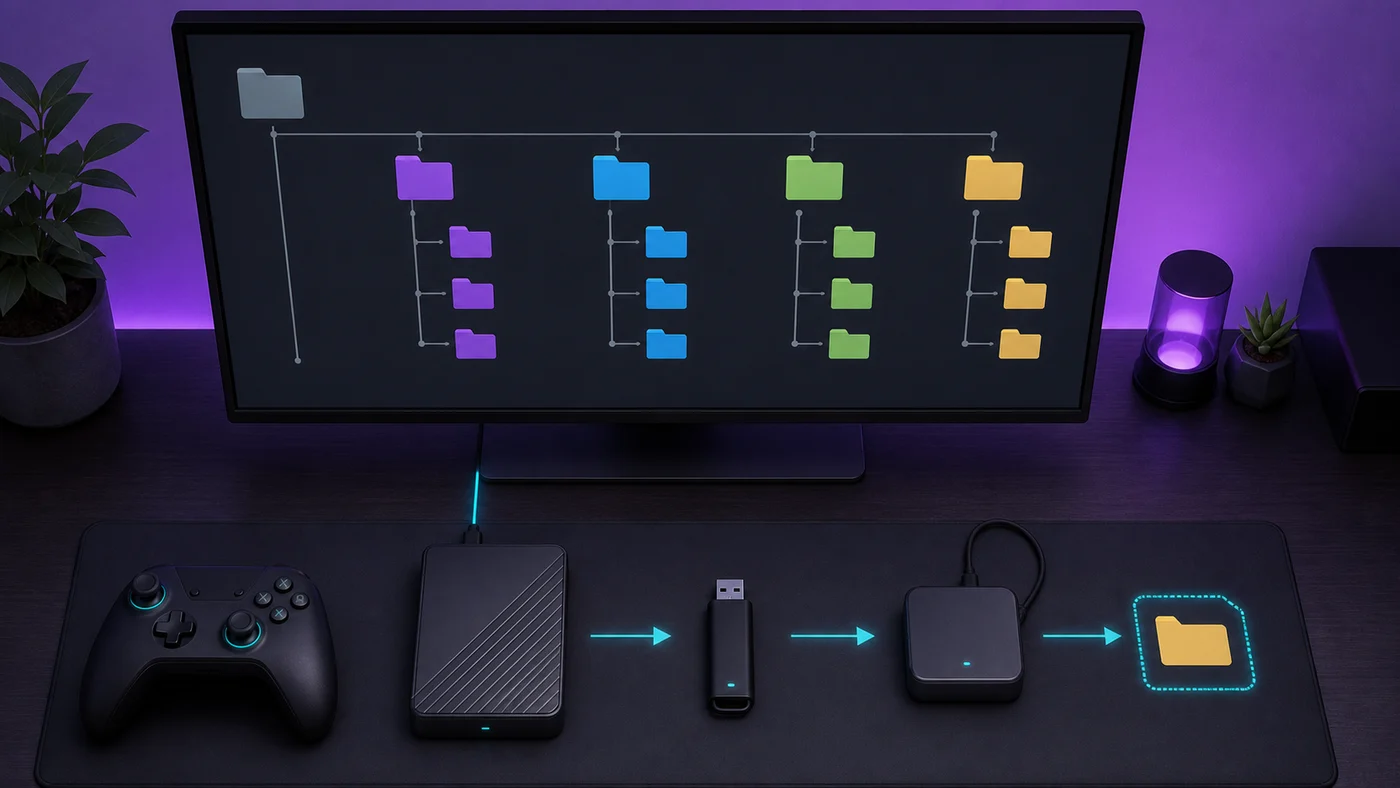
Use separate folders for game files, system or firmware files, save data, save states, screenshots, and configuration backups. Do not scatter important files across Downloads and the desktop. After the setup works, copy the save and configuration folders to a second storage device.
Get the controller comfortable
RetroArch’s virtual RetroPad lets one physical controller map consistently across many cores. The official input documentation is the right reference when a core labels buttons differently than the physical pad. Test the directional pad, analog sticks, triggers, menu toggle, and exit behavior before changing shaders.
If you need a dedicated pad, a wired USB controller is the least troublesome place to start on Windows, macOS, or Linux. Bluetooth is useful on phones and tablets, while a controller with a 2.4 GHz USB receiver is my pick for a living-room computer. The retro-style multi-platform controllers worth considering are the ones with enough face and shoulder buttons for your newest target system. A six-button pad is lovely for Genesis games and quickly becomes awkward for systems that expect four shoulder controls.
Choose a documented core for one target system, launch a known working file, and test saves. Avoid installing every available core and changing global options all at once. When something breaks, a small configuration is much easier to diagnose.
Shaders can soften pixels, imitate display characteristics, or add scanline effects. They can also add GPU load and disguise a basic scaling problem. Establish correct aspect ratio and stable performance first. Then try one included preset and save it for a core or game only when it improves the experience.
Once input, saves, and video work, close RetroArch normally and copy its configuration and save directories. Record the version and core names. A clean baseline makes later experiments reversible.
Keep content separate from RetroArch’s own files. A simple layout might contain folders named Games, Saves, States, Screenshots, System, and Backups. The exact location varies by operating system, so use the official directory configuration guide instead of copying paths from an unrelated device.
My rule is simple: once three games work, I play one of them. Otherwise I’ll keep adjusting thumbnails, menu colors, and button labels until bedtime. Configuration can be fun, but it has a sneaky habit of becoming the game.
Protect the progress that matters
A normal in-game save is created through the game’s own menu and is usually the most portable choice. A save state captures emulator memory at a moment in time. States are convenient, but they can become incompatible after a core update. Keep normal saves, close content cleanly, and don’t use states as the only record of long progress.
Start with global defaults. If one core needs a different aspect ratio or controller mapping, save a core override. If one game is unusual, use a game override. This prevents a fix for one title from changing every other system. Record unusual changes in a short text file beside the backup.
Set the core’s intended aspect ratio and play a side-scrolling game for a few minutes. Uneven movement, audio crackle, or circles that look oval point to a setup problem. Fix those before opening the official shader guide. I use a light shader only after the picture is correctly scaled and performance is steady; scanlines can’t rescue bad frame pacing.
Back up saves, system files you are entitled to use, playlists, thumbnails you customized, and configuration files. A portable external SSD is one option for a local copy. Keep it disconnected when not backing up, and test restoration with a small file before trusting the process. The official cloud sync guide is useful if you later add a second device.
For legal and preservation boundaries, see the NerdHobbies emulation and copyright policy.
Still deciding between a core and a standalone project? Use the emulator selection checklist.
Pick a single system you already enjoy and get three games working. Choose one that saves normally, one that uses several controller buttons, and one familiar favorite. That tiny library will expose most basic setup problems without burying you under playlists and artwork downloads.
Once those games launch, save, and exit cleanly, stop tweaking for a while. Play something. It’s surprisingly easy to spend an entire night comparing menu drivers and forget that the colorful boxes on the screen are supposed to lead to games.
Leave latency options, frame delay, run-ahead, and aggressive video synchronization at their defaults on the first setup. They interact with computer speed, refresh rate, drivers, and individual cores. Change one only when you can name the problem it is meant to fix, then replay the same section of the same game. Otherwise, a night of “improvements” can end with worse audio and no clue which switch caused it.
Then make it feel like your setup
After the basics work, choose a menu style you can read from your normal chair, hide playlists you never use, and set a menu shortcut that is hard to press by accident. Small comfort changes matter more than building a giant cover-art wall. My favorite setup is the one I can return to after a month and still remember how to use.
Keep the working backup somewhere obvious. Future you will be grateful after an ambitious settings experiment turns the screen sideways at midnight.
Get one system comfortable, back it up, and enjoy a game before adding the next one. Your future self will appreciate the tidy folders. Your present self deserves a round of something fun. See you after the save screen.