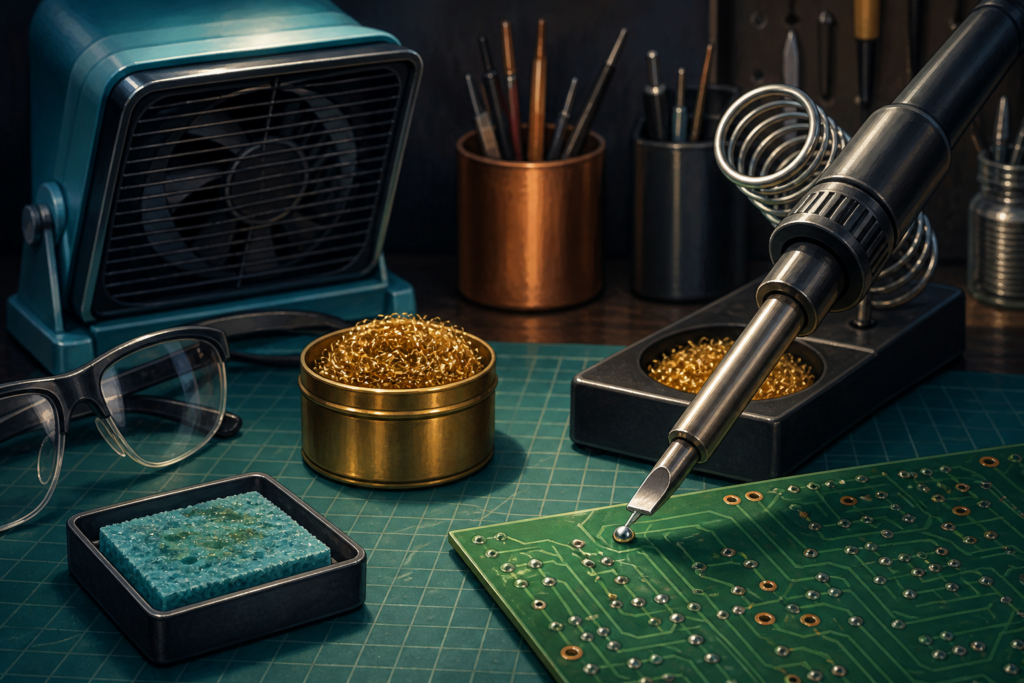
If a soldering iron seems weak, turning the temperature higher is not the first fix. The tip may be too small for the joint, coated with oxidation, or missing the thin solder layer that carries heat into the work. iFixit’s August 20, 2026 guide to new tip shapes is a timely reminder that the bit touching the board deserves as much thought as the station supplying the heat.
My recommendation for ordinary retro-console wire and through-hole work is to start with a clean medium chisel tip that fits the pad, use the lowest temperature that produces proper wetting, and keep the working surface tinned. A needle tip belongs on genuinely tiny joints. If the board needs microsoldering, trace repair, or heat near a delicate connector, the decision changes: stop and use a qualified repairer.
The old cartridge era made hardware feel sturdy. Many boards did survive a heroic amount of plugging, dust, and questionable storage. Their copper pads are not invincible, though. More heat cannot negotiate with a lifted pad.
A narrow tip is not automatically safer
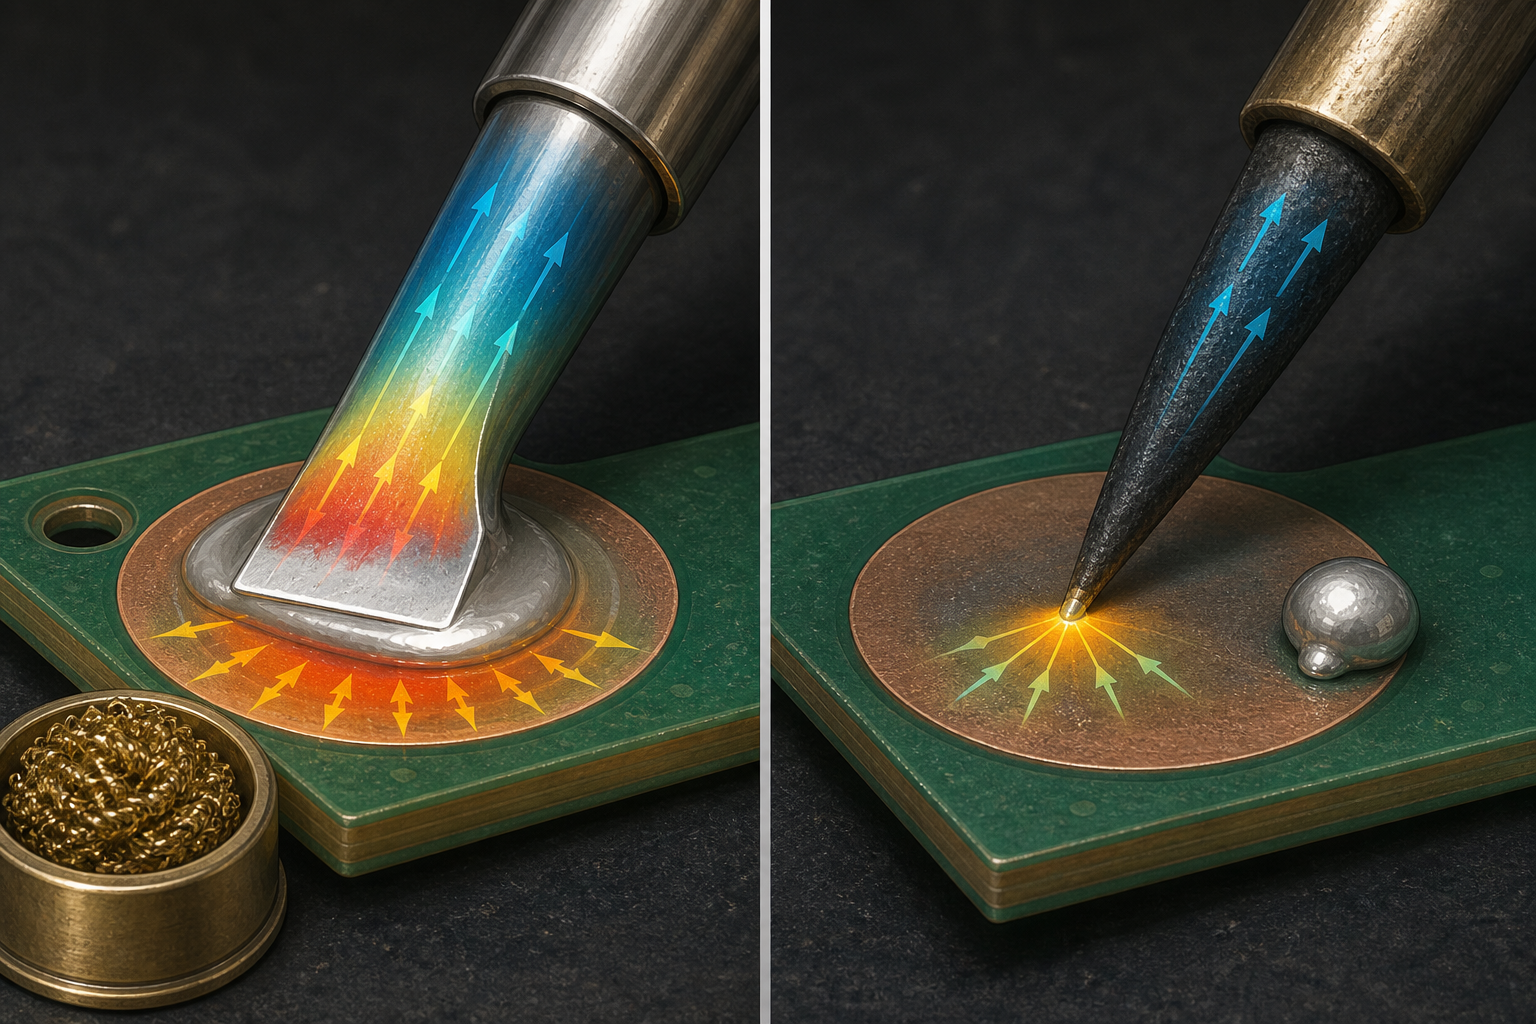
The recent iFixit soldering-tip guide separates common shapes by the contact they provide. A conical tip can approach from several angles. A chisel or wedge offers a broader flat surface. A needle tip reaches fine work but transfers less heat into a larger joint. The useful choice follows the joint, not the idea that smaller tools always mean gentler repairs.
For a through-hole capacitor lead, controller cable, or battery tab already designed for soldering, choose a tip whose flat working face can contact the pad and component lead together. Broad contact moves heat efficiently, which can shorten the time the iron must stay on the joint. For a small surface-mount part with safe access, a finer tip may be appropriate. If the tip has to lean against nearby plastic or several components just to reach, the setup is wrong.
Avoid buying an assorted tip set until the iron’s exact heater and tip system are known. A replacement chisel-tip category is useful only when the dimensions and manufacturer compatibility match the station. A familiar shape does not guarantee a safe fit or correct temperature sensing.
Wetting is the clue to follow
Wetting means molten solder spreads across and bonds to a clean metal surface instead of pulling into a stubborn ball. A properly tinned iron tip should hold a thin shiny solder coat on its working area. When that coat touches both parts of the joint, it increases contact and helps transfer heat.
HAKKO’s official tip-maintenance guidance says an oxidized tip repels solder and transfers heat poorly. It recommends using the lowest suitable temperature, keeping solder over the pre-tinned area while the iron rests, and turning the iron off during longer pauses. Those steps address the cause instead of hiding poor contact under extra heat.
Watch the solder, not only the station display. If fresh solder wets the tip but not the joint, stop and inspect the pad, component lead, flux choice, and contamination. If solder will not wet the tip, clean and re-tin it according to the tool maker’s instructions. If the surface is cracked, badly pitted, or exposes the copper core, replace the tip. Grinding a plated tip into a new shape can remove the protective layer and turn a repair tool into a short-lived science experiment.
Clean before the joint, tin before the rest
HAKKO advises cleaning the tip just before soldering, then leaving a solder coat on the pre-tinned surface while it sits in the holder. After the work, cover the working area with solder before shutting the iron down. That order sounds backward if a shiny bare tip looks tidy, but the solder coat limits the hot metal’s exposure to air.
A damp sponge removes residue, while brass wire cleaner can clean without the same abrupt temperature drop. Follow the iron and tip manufacturer’s directions because materials and coatings vary. A brass soldering-tip cleaner is a practical bench item when its container is stable, heat resistant, and intended for soldering tools. It is not ordinary steel wool, and it should not share a cup with screws.
Tip tinner is a recovery aid, not seasoning for every joint. Use it only as directed when normal cleaning and fresh flux-cored solder do not restore wetting. Once a plated tip is physically damaged, replacement is the right answer. The station can be healthy while one worn consumable makes every job feel impossible.
Keep fumes and residue out of your face and food
Soldering safety is not solved by leaning away from the first visible wisp. The OSHA technical manual on lead work notes that soldering can create short-term, intermittent exposure to lead fumes and identifies portable local exhaust as a control in confined areas. For a hobby bench, the practical rule is to capture fumes near the work and move them away from the breathing zone. Keep the stand on a stable, heat-resistant surface, wear eye protection appropriate to the task, and keep drinks, snacks, and children away from the bench.
A home bench is not an industrial production line, but residue can still travel on hands, tools, and work surfaces. Wash hands after soldering, clean the surface without throwing dust into the air, and keep work clothing and tools out of food areas. If the solder or board contains lead, follow its safety data and local workplace or public-health guidance rather than assuming ordinary tidying removes every trace.
Lead-free solder does not make flux fumes or hot tools disappear. Use the solder, flux, ventilation, and cleaning procedures specified for the repair. If a board contains an unknown coating, leaking battery residue, severe corrosion, or damaged components, pause before applying heat.
Practice somewhere the save file cannot complain
Do not learn tip choice on the cartridge or controller that matters most. Practice on a discarded, nonhazardous board with through-hole joints. The goal is not a personal benchmark. It is to recognize clean wetting, use brief controlled contact, and remove solder without scraping or lifting a pad.
Before opening any console or accessory, read a repair guide for the exact model and board revision. Photograph cable routing and connector orientation. The NerdHobbies console maintenance guide explains when cleaning has crossed into repair, while the cartridge save-battery guide covers the extra safety and data questions around coin cells.
Choose a repair shop when the job involves fine-pitch components, damaged traces, multilayer-board diagnosis, valuable hardware, or a save that cannot be replaced. The best tip cannot supply missing experience, documentation, or magnification.
The bench rule I would keep
Start with a medium chisel tip for ordinary through-hole and wire joints, then move finer only when the joint and surrounding clearance demand it. Keep the working surface clean and tinned, lower the temperature instead of idling hot, and let proper wetting confirm the setup. Replace a damaged tip and hand advanced board work to a repairer.
Pick the contact area before the heat setting. The board will appreciate the manners. Gamer Dude out.